Slab Leak Water Damage in Norco, LA
A hidden supply release may appear as a damp joint, changing floor finish, or wet cabinet edge. Plumbing diagnosis identifies the failed pipe, while restoration testing follows moisture through the floor system and adjoining construction.
(888) 417-5665Trace the floor moisture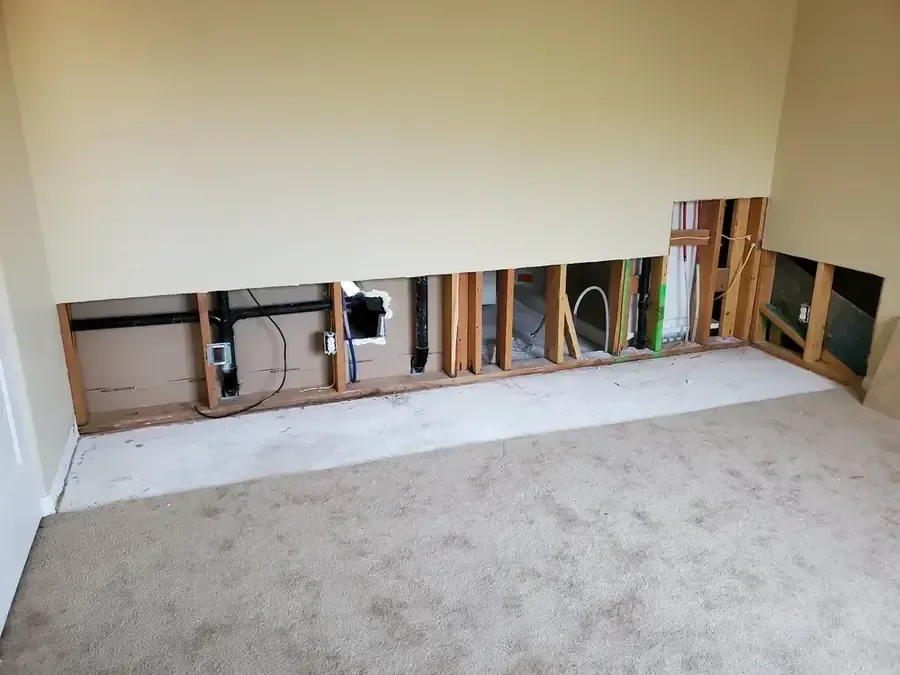
Why the slab leak water damage plan follows the water
Rapid local response
The response team dispatches 24/7 for active water and starts with source control, safety and a full moisture boundary.
IICRC S500 drying standard
The drying team sets category and class, chooses equipment for the evaporation load and verifies progress with daily readings.
Claim-ready documentation
The record can include the source, room diagram, moisture map, category, class, daily logs and photos before removal.
River Parish water knowledge
The crew plans for tropical rain, storm surge, humid air, supply failures and occasional freezing conditions.
How slab leak is handled in Norco
Pair with the plumbing finding
The pipe diagnosis clarifies the release point while restoration testing identifies where escaped water traveled through construction.
Read every relevant layer
Technicians examine finish flooring, underlayment, concrete, wall bases, cabinetry, and adjoining spaces as separate materials.
Create evidence based access
Openings are limited to failed finishes, trapped water, or areas where intact surfaces prevent useful drying and verification.
Track the slowest assembly
Repeated readings determine whether concrete and concealed components improve enough for equipment removal and later finish replacement.
First steps for slab leak water damage in Norco
Reach a safe water control
Use a fixture valve or master shutoff only when access is clear of electrical hazards and unstable surfaces. A plumber should handle diagnosis and pipe repair.
Stay off altered finishes
Avoid loose tile, swollen boards, slick surfaces, and lifted edges. Foot traffic can cause a fall or disturb material that needs inspection.
Preserve early clues
Photograph the first water location, finish changes, cabinet swelling, and visible stains before plumbing access or removal changes the evidence.
Leave the area uncovered
Move rugs or boxes only when safe and avoid placing plastic across the wet floor. Coverings can hide the boundary and slow evaporation.
Water showing at a floor seam does not reveal where the pipe failed or how far moisture traveled. A plumbing contractor handles source diagnosis and repair. The restoration team begins with the released water, testing finish layers, concrete, partitions, and fixed cabinetry. No single foundation type is assumed for Norco properties. Inspection follows evidence at the site. The local service hub places this work alongside other water and sewage restoration options.
What does slab leak water damage cost in Norco, LA?
Slab leak restoration commonly ranges from $1,800 to $8,500 or more. Finish layers, water travel, cabinet contact, concrete moisture, controlled openings, equipment, and monitoring shape the final work plan.
Focused loss
$1,800 to $3,914
- Source repaired
- One floor section
- Limited access needs
Multi-room loss
$3,914 to $5,950
- Moisture crossed transitions
- Walls or cabinets affected
- Several reading groups
Complex loss
$5,950 to $8,500+
- Finish layers removed
- Dense material drying
- Expanded documentation
Ranges are typical, not a quote: category of water, square footage, material class and how fast drying started move the number most. Run the water damage cost calculator for a closer range.
Keep pipe investigation and material recovery distinct
Pressure loss, sound, and plumbing access may help the plumber find a buried failure. Those findings do not replace a moisture map. Water can travel along a low point or under a continuous finish before appearing in another room. The wettest visible spot might therefore be separated from the damaged pipe.
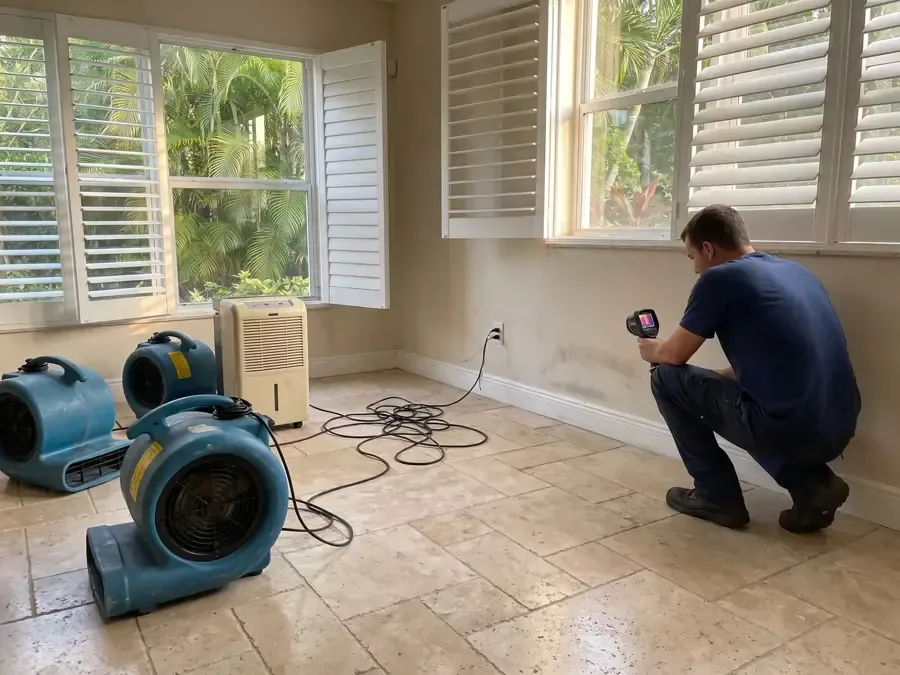
The mitigation technician checks the first visible area, then moves through doorways, floor transitions, wall bases, and cabinet ends. A thermal camera may show an irregular pattern, but meter readings establish whether a specific material is damp. Dry comparison areas help show where the boundary closes. Photographs preserve the conditions before plumbing or finish access changes the scene.
- Record the plumbing finding and repair location
- Test transitions on both sides of a doorway
- Inspect cabinet toe spaces and wall contacts
- Distinguish old staining from current moisture
- Keep repair charges separate from mitigation work
Evaluate the whole floor assembly
Tile, resilient flooring, laminate, wood, adhesive, underlayment, and concrete each hold and release moisture differently. Testing extends beneath the visible finish to the damp layers. Some finishes can remain when water can be extracted and the assembly responds to drying. Others lose bond, swell, or block access to trapped water.
Technicians choose the least disruptive inspection points that still produce useful information. A threshold, existing opening, or cabinet access may expose a layer without broad removal. When a finish has failed or prevents drying, controlled removal follows the measured area rather than the room outline. Unaffected sections stay protected from dust and equipment traffic.
- List the layers encountered in every affected area
- Check adhesion, dimensional change, and visible release
- Compare concrete separately from finished flooring
- Look for water movement below continuous surfaces
- Document why each section stays or is removed
Any adhesive, underlayment, or finish that remains is included in later checks. The crew records where access ended and whether a reading represents concrete, the finish, or an adjacent wall. Clear labels prevent unlike materials from being compared as though they share one drying behavior.
Dry dense and concealed materials deliberately
Concrete does not behave like gypsum board or exposed wood. Moisture can remain within its pore structure after the top feels dry. Once finish access is adequate, air movement supports evaporation at the surface while dehumidification captures water vapor in the room. Wall bottoms, sill areas, and cabinetry may need a different air path from the open floor.
Buildings around Diamond, Airline Highway, and the Bonnet Carre Spillway still require individual material goals. Local geography cannot determine a slab reading. The crew marks repeatable test locations, records ambient conditions, and compares each visit with the prior set. A flat trend can indicate an overlooked layer, blocked airflow, or a need to revise access.
- Direct airflow across exposed damp material
- Keep cabinet and wall readings separate
- Monitor concrete at consistent test locations
- Adjust equipment when one zone lags
- Confirm completion before replacing finish layers
Build a record that explains selective access
Slab leak documentation starts with the plumbing report and the earliest visible symptoms. A room sketch shows the tested boundary. Photographs identify changed flooring, damp walls, cabinet effects, and every controlled opening. Daily entries track material response, not simply how long equipment operated.
The final record can pair repair information with initial and completion readings, retained material notes, disposal details, and invoices. The insurer determines whether the reported cause falls under policy terms. Restoration records show observed damage and why access or drying steps were chosen. For related planning, the main slab leak service explains the broader service scope.
Slab leak water damage across Norco and nearby communities
Slab leak restoration is available around Diamond, Airline Highway, Norco Elementary School, and the Bonnet Carre Spillway. Building readings, not the local place, define each work area.
The same service nearby: slab leak water damage in LaPlace, Destrehan, Luling.
Related water damage services in Norco

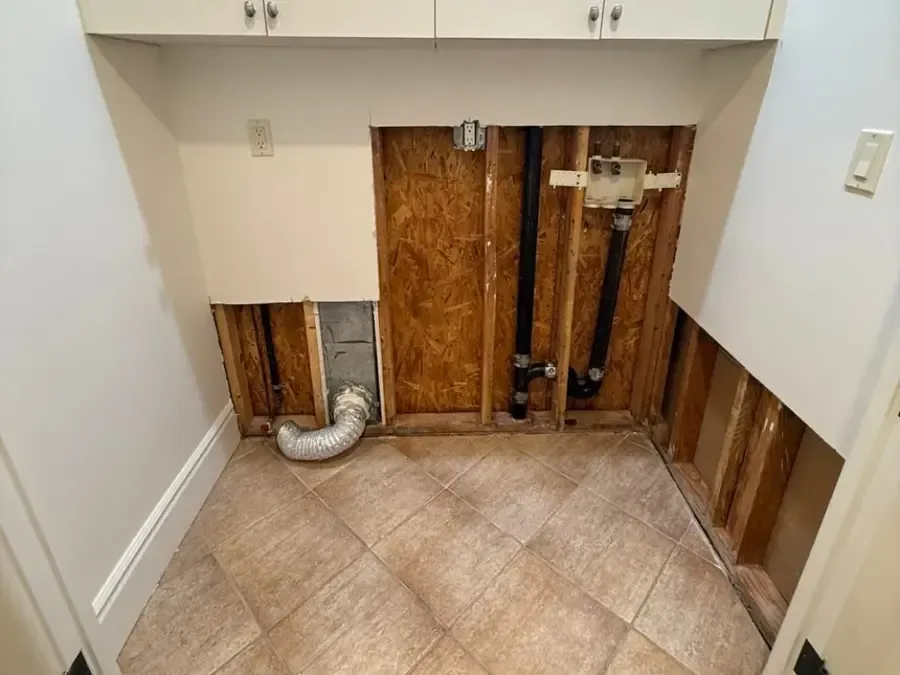
Slab Leak Water Damage questions in Norco, LA
Water surfacing through a floor?
A plumbing diagnosis locates the leak; moisture readings guide access beneath the affected flooring.
(888) 417-5665Request hidden moisture tracingDoes warm flooring confirm a hidden leak?
No. Warmth can be a clue, but plumbing testing is needed to identify a failed pipe. Restoration readings then determine which building materials were affected by the release.
Can moisture remain under tile?
Yes. The tile face may appear normal while setting material, grout paths, adhesive, or concrete remains damp. Testing from several practical access points can clarify the condition.
Will all finished flooring be removed?
Not automatically. Removal depends on contamination, physical failure, trapped moisture, and whether drying can be measured. Sound material outside the confirmed boundary can remain protected.
How are fixed cabinets evaluated?
Technicians test toe spaces, panels, walls, and accessible floor areas. Small openings can reveal conditions behind a cabinet before any decision about broader dismantling is made.
Why does concrete need separate readings?
Concrete stores and releases moisture differently from wood or wallboard. Its surface can feel dry before internal conditions reach a suitable comparison level for the project.
Who fixes the pipe below the floor?
A plumbing professional diagnoses and repairs the failed pipe. Restoration workers address escaped water, damaged finishes, moisture access, drying, and the condition record.
What drives slab leak restoration cost?
Floor construction, affected area, water path, cabinetry, wall contact, removal, access, drying response, equipment needs, and monitoring visits all influence the property-specific scope.
Separate the pipe repair from the wet material map
The mitigation team checks flooring, concrete, wall bases, and cabinets, then chooses access and drying steps from the recorded evidence.